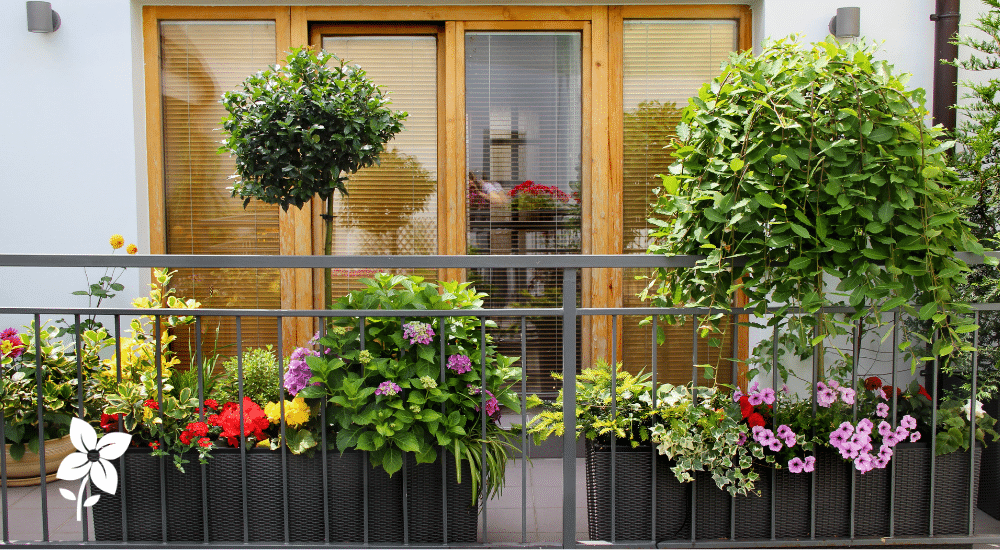

At our Christmas wreath workshop at Salisbury, you smell the greenery before you see it. Cedar hits you first, sweet and woody, before you even take off your coat. Silver fir follows, sharp and resinous. White pine waits in soft, feathery bundles that practically ask to be touched.
A wreath, it turns out, is more than a ring of foliage. It is a sequence of small decisions, each one bound into place, ending in something you would happily hang on your own door. Our first sessions of the season are already underway, so rather than tell you what might happen, this post shows you what did: real wreaths, real hands, and real moments from the table.

What to Expect at a Christmas Wreath Workshop at Salisbury
You start with a bare grapevine wreath, learn to select, cut, and bundle fresh greens, then attach them to build a full wreath, finish it with lights, and add holiday decor of your choosing. You leave with a personalized wreath ready for your front door, and no previous experience is needed.
Here is how the session unfolds:
- Welcome and setup: Your place is ready with a bare grapevine wreath and tools, and fresh greens wait to be chosen.
- Demonstration: Your guide shows you how to select, cut, and bundle greens, then walks you through the decoration options.
- Making: You choose, cut, bundle, and attach your greens at your own pace, with help whenever you want it.
- Finishing: The fun part, as you add your lights and decor, and your wreath goes home with you.
The atmosphere sits somewhere between a kitchen table and a florist’s back room. Conversation flows, then dips into concentrated quiet as everyone coaxes their first bundle into place. Nobody is graded. Help is close at hand but never hovering, so you can ask about every stem or be left alone with your secateurs and your ideas.
The Materials: A Forest on Your Table
Every wreath starts with a cast of characters, and half the pleasure lies in how differently they behave.
The Grapevine Base
The bare grapevine wreath is the quiet backbone. Twisted, knotted, and pale brown, it looks unfinished on its own, but it is sturdy, light, and full of gaps that greenery can grip. Left uncovered, it gives a rustic texture of its own.
Fresh Seasonal Foliage
Western red cedar is the graceful one. It’s flat, lacy sprays of scale-like leaves drape rather than bristle, softening the wreath’s outline and perfuming the room with a warm, woody scent. White pine brings the gentlest texture: long, slender needles held in clusters of five that ripple softly when you move the bundle. Silver fir is the dependable structure. Its short, flat needles hold their shape when bound tightly, and their pale undersides give the wreath a cool, silvery flicker. Lay a sprig of each side by side, and the logic is obvious: lacy against needled, drape against structure, deep green against silver. Other greens may join them, depending on what is in season and available at the time.
Natural Accents
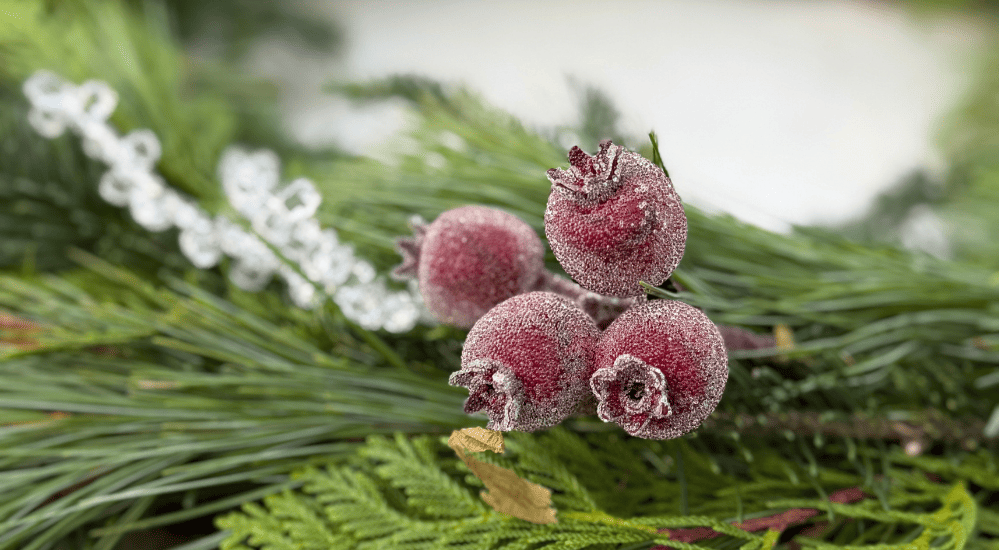
Pinecones are the humble workers. They add weight, structure, and a woody brown that grounds the greens. Their overlapping also provides places to secure them among the foliage so they sit firm rather than flop. Berries bring the punctuation, small bursts of red that pull the eye around the ring. Artificial sprigs of holly or eucalyptus add a glossy or silvery accent that never wilts before Christmas.
Lights and Holiday Decor
Lights bring the wreath to life after the sun sets. Strung through the greenery, a strand of small lights turns a daytime decoration into a pleasant glow by the door. The decor then sets the mood: a generous velvet bow says one thing; a cluster of rustic ornaments says something else entirely.
If you have been saving Christmas wreath ideas all autumn, this is the moment they stop being pictures on a screen and start being stems in your hands.
Building the Foundation: Where Any Wreath Begins
The technique is simpler than it looks, and it follows a uniform rhythm: anchor, layer, adjust.
Anchor
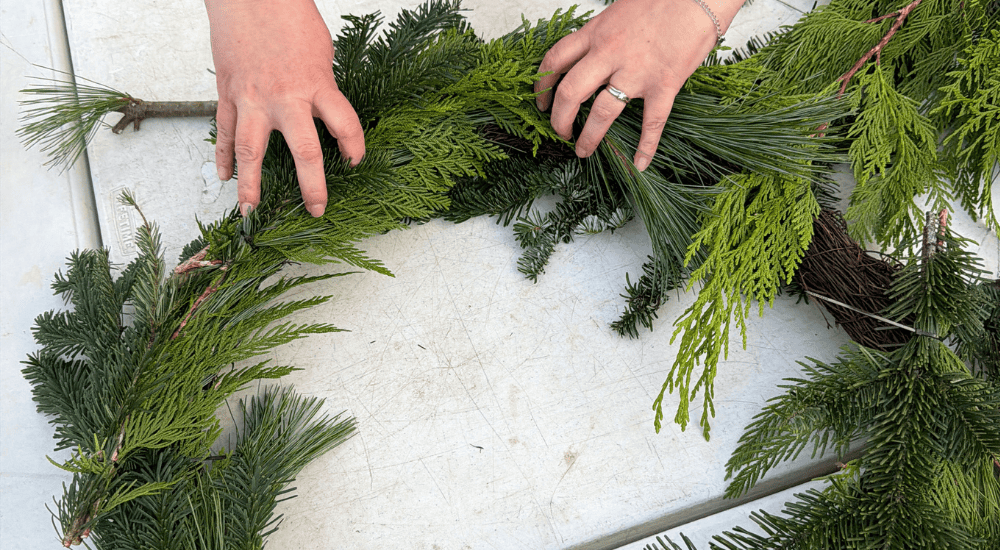
Your wreath starts as a bare grapevine ring, woody, tangled, and strong enough to carry plenty of greenery and decoration. Its open weave gives every bundle something to hold on to. Secure each bundle to the vine with a zip tie, which is faster and easier than wire: loop it around the stems and the vine, pull it snug, and the bundle holds fast.
Layer
First comes the cutting. You choose your greens, then trim the stems to a similar length so the bundles sit evenly. Gather a small bundle of mixed foliage, perhaps a few stems of silver fir, a spray of cedar, and a sprig of white pine, and lay it against the vine at a slight angle. Pull a zip tie snug around the stems and the vine. The next bundle sits just below the first, its tips hiding the stems and tie of the one before. Face every bundle the same direction so the greenery seems to travel around the ring. Repeat, and the wreath grows.
If you have ever attempted a DIY Christmas wreath at home and ended up with something lopsided, this is usually where it went astray. Bundles that are too big, too far apart, or angled inconsistently leave gaps and bulges. With the workshop instructor demonstrating and checking in, you’ll find the right size and spacing within the first few bundles.
Adjust
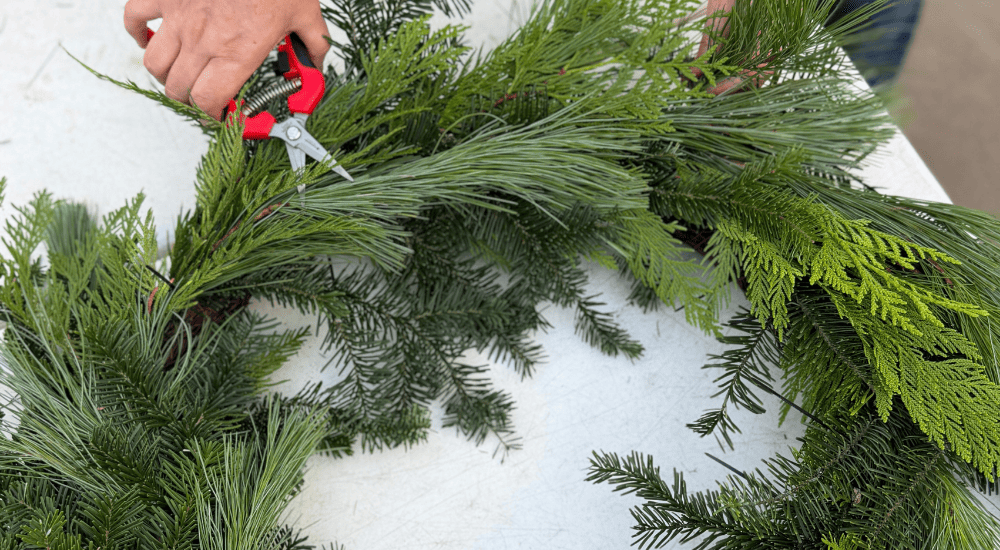
When you get back to the start, tuck the final bundle beneath the first so no stems show, then snip any long zip-tie tails. Now step away. Study the outer edge, the inner edge, and the overall outline. Is one side heavier? Has the centre started to close up? Push single stems into thin patches and trim anything that strays too far. Balance comes from looking, adjusting, and looking again. This is the stage where a good wreath becomes a lovely one.

Adding Personality: Why No Two Wreaths Look Alike
Give ten people the same greenery, and you’ll end up with ten different wreaths. Once the foundation is in place, the choices become yours, and they reveal a lot.
Colour
Some makers lean traditional, pairing deep green cedar with red berries and pinecones. Others reach for silver fir and the blue-green of white pine, building a pale, cool wreath that seems more frost than fireside.
Fullness
A lush wreath, packed tightly with foliage, looks generous and old-fashioned. A sparse one, with fewer stems and stretches of bare grapevine left on show, looks calm and modern. Neither is wrong. They fit different doors.
Accents and Asymmetry
You might cluster pinecones and decorations at the base as a single focal point or scatter them evenly for a consistent rhythm. Some people load one side and leave the other light, making a crescent that leads the eye around the circle. Lights follow the same logic: weave them evenly for an all-over glow, or gather them around your focal point so the decorations shine after dark.
This is why the workshop suits people who doubt their artistic instincts. The technique is taught; the taste is already yours, and the inspiration laid out on the table before you allows your creativity to come to life. Plenty of Christmas craft ideas end up forgotten in a drawer by January. A wreath you shaped yourself hangs where everyone who knocks can see it.
Moments from the First Workshops
The first tables have been cleared, and the first wreaths have gone home. Here is a glimpse of what happened in between.
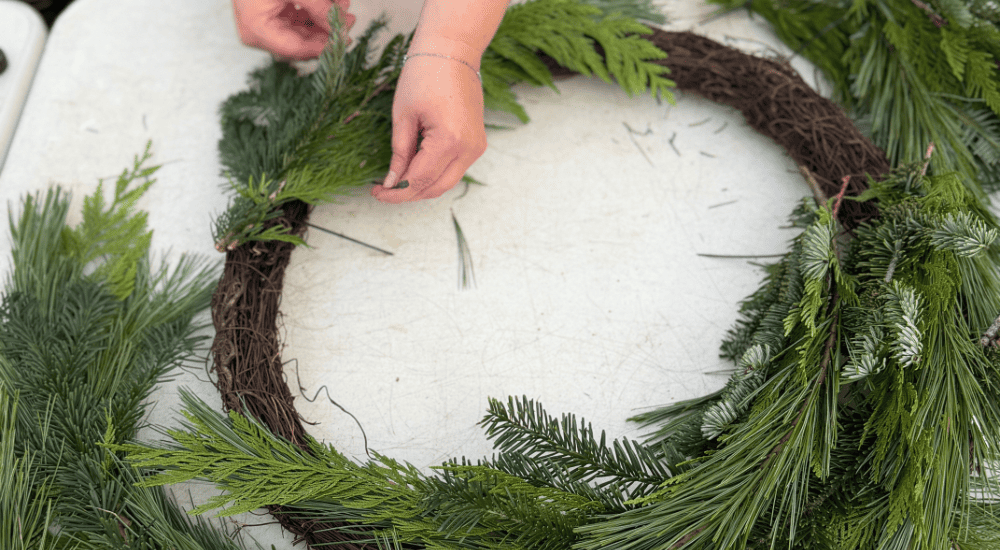
The first bundle always takes the longest. By the fifth, your hands know the rhythm.
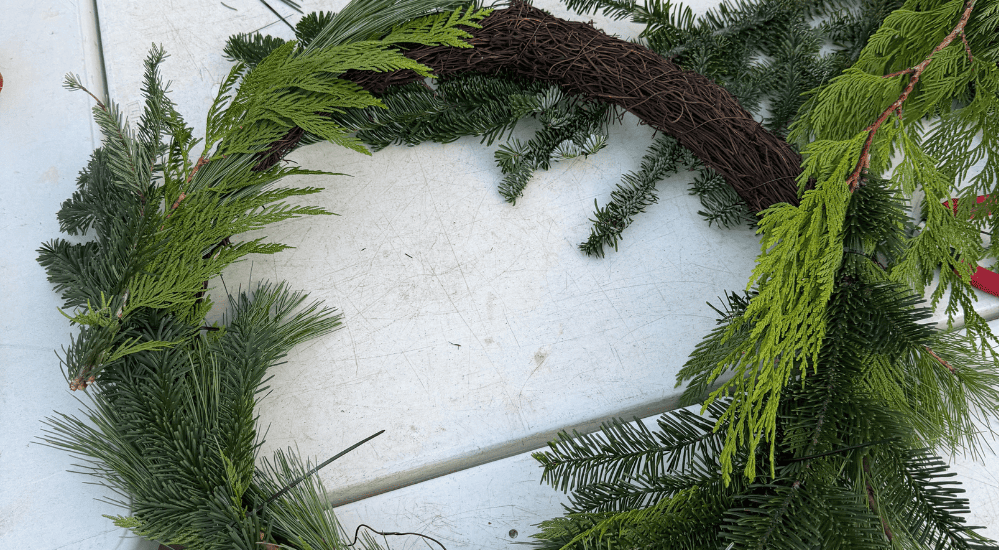
Same table, same greenery, entirely different results.

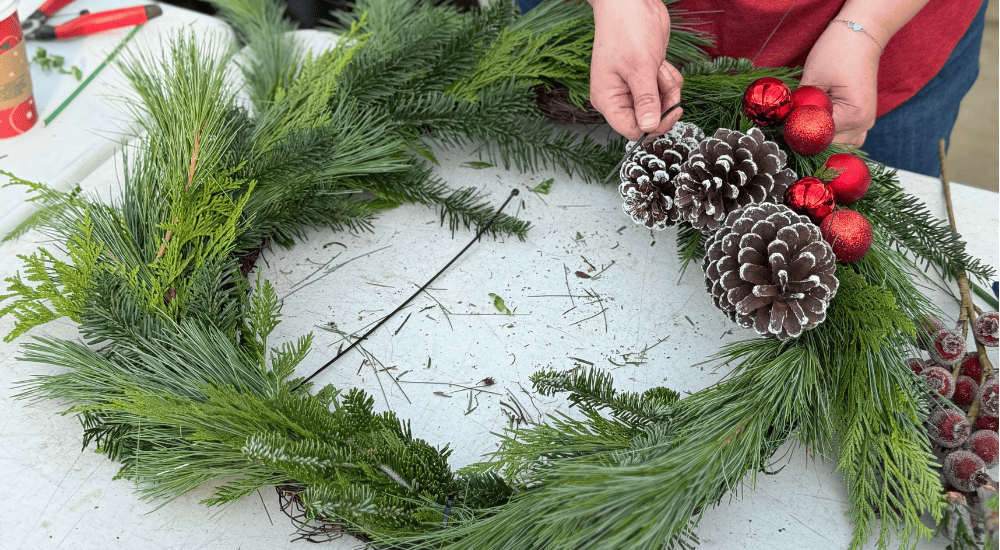
Lacy cedar, feathery pine, woody cone. Texture does half the work.

Frequently Asked Questions
How Long Does a Christmas Wreath Workshop Take?
Each session runs for three hours. That leaves time for the demonstration, an unhurried build, and the finishing touches, without anyone feeling rushed.
Do I Need Experience to Join a Wreath-Making Workshop?
No. We demonstrate every stage, and a tutor is on hand throughout. The bundling technique is repetitive, and zip ties attach easily, so most people find it clicks within the first few bundles.
What Materials Are Provided?
Everything you need: a bare grapevine wreath, fresh greens, lights, holiday decorations, and the tools to cut and attach them. Just bring yourself.
Do I Take My Wreath Home?
Yes. You leave with your finished wreath at the end of the session, ready to hang.
How Do I Keep My Wreath Fresh?
Hang it outdoors or on a cool porch, out of strong direct sun and away from radiators, stoves, and open fires, because warmth dries cut greenery quickly. A light misting of the foliage every few days helps, particularly in mild or windy spells. If your lights run on batteries, keep the battery pack tucked out of the rain. With proper care, fresh greens on an outside door usually look good well into the festive season.
Your Place at the Table
Hours later, the fragrance of cedar and fir still clings to your sleeves. The table that held a forest is bare apart from a few stray needles, and the wreath in your hands is bound, balanced, and finished. All that remains is the part only you can write: where it will hang, and the welcome it will offer.
Space is limited, and sessions fill quickly as December approaches, so check the dates and reserve your place at our Christmas wreath workshop at Salisbury while there is still room.
RESERVE YOUR PLACE →