Be the hero your garden needs, and master the science of how to save a dying tomato plant! Tomatoes are a particularly finicky sort, and there are a few common ailments that can affect them. It’s important to intervene before things take a turn for the worse, and your garden veggies bite the dust.
Among us gardening nerds, it’s common practice to treat our plants like our babies, and really, it’s not all that different. It can be a constant guessing game of trying to figure out what they need! But, unlike actual babies, plants can’t cry out for attention””instead, they kinda just start wilting and giving us visual cues that things are amiss.
Knowing how to recognize these signs is a valuable skill that can save your plants from an untimely fate! Here are some common symptoms and solutions, so you can learn how to save a dying tomato plant in Edmonton.
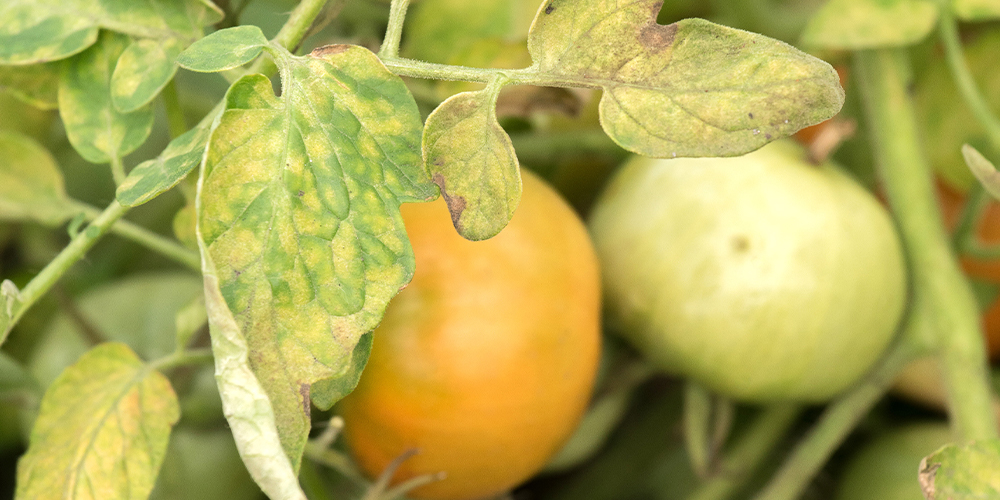
Yellow, Wilting Leaves
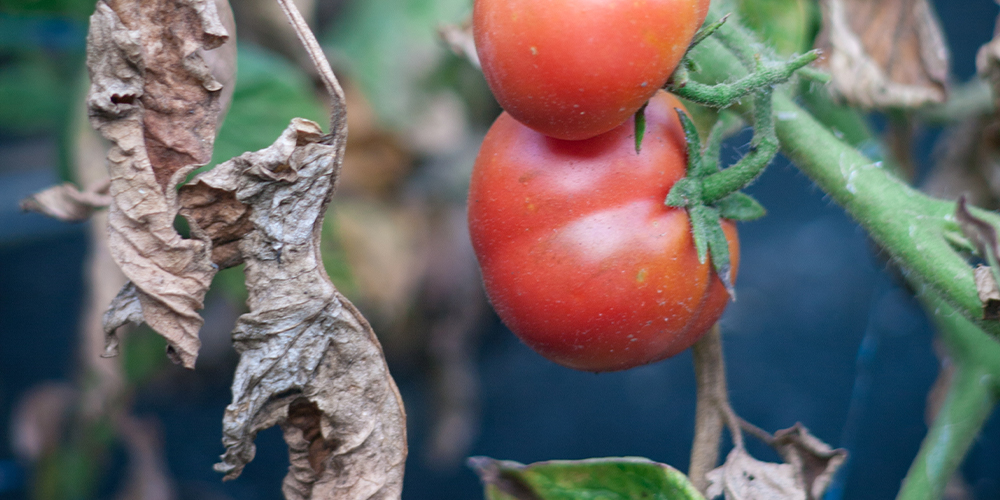
Once the leaves on your tomato start to go limp and lose their colour, that’s a clear sign that something isn’t quite right. Now, the tricky part is, a few different things can cause dying, yellowing leaves, so you’ll need to take into account some other factors.
Overwatered tomato plants will show signs of wilting and discolouration, but they aren’t likely to be dried out. The bottom leaves may also have some bumps and blisters. Too much stagnant water hanging around the roots can cause rot, so you’ll want to scale back on watering immediately if you suspect this is the case. If the roots are totally rotten, you might have a lost cause on your hands, but definitely wait a few weeks to see if it makes a full recovery, because there’s still a good chance it can bounce back!
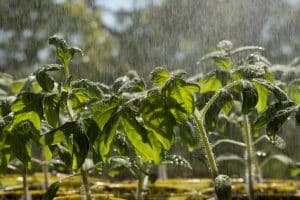
In a garden bed, they’ll need about 1″“2 inches of water per week. Make sure the soil is loose and has good drainage so that the moisture won’t get trapped. It’s a different story for container gardens and hanging baskets””the soil dries up much faster in the sun, so you may need to water them nearly every day. Just make sure there’s drainage holes in the bottom of the pot to prevent waterlogging!
If the leaves seem to be dried up, then you probably aren’t watering enough. Increase the amount of water you give them and make sure they’re getting at least 6 hours of full sun every day.
Now, if you’re certain you’re watering the garden enough and it’s getting plenty of sunshine, the yellowing leaves may be a sign of poor soil that lacks nitrogen. Do a soil test to determine if your nutrient levels are off, and treat your soil accordingly. Adding fertilizer should help quite a bit, but you can also improve the nitrogen levels in your soil by planting some beans, which naturally deposit nitrogen directly into the soil.
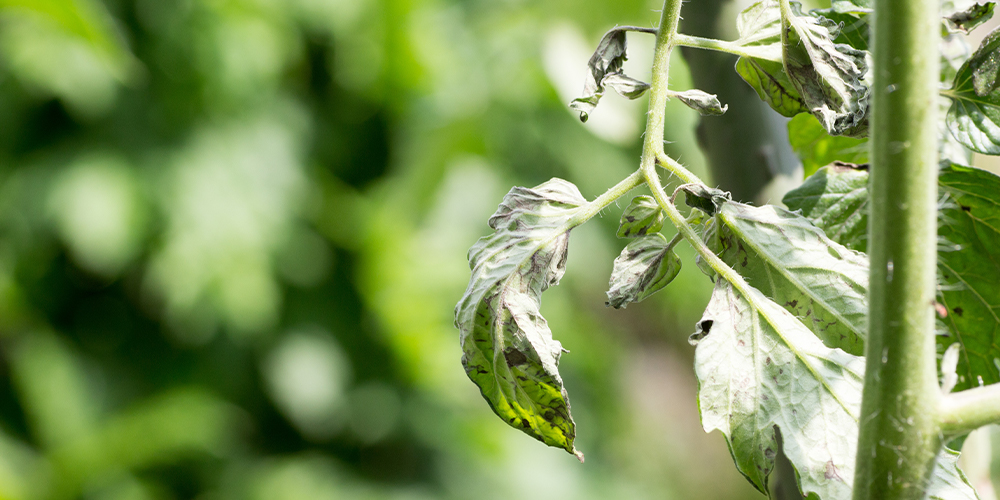
Sticky Leaves With Black Spots
If the leaves have a sticky, shiny residue on them, that’s a sign that aphids are taking over! They suck the sap out of the leaves, and leave a trail of waste behind that we commonly refer to as “honeydew.” Once this honeydew builds up, it can lead to fungal growth, which looks like black spots.
Aphids can be killed with a natural soap spray solution, made with castile soap and water. Just spray it all over the leaves, wait for it to dry, and then reapply until the bugs are gone. This solution can work for several other pests as well, so if you notice any signs of infestation, such as bite marks, whip up a batch of soap spray and go to town on those bad boys!
Any fungal growth found on the leaves, stems or fruits should immediately be removed to prevent it from spreading. Grab a garbage bag, some shears, a rag, and some isopropyl alcohol. Cut off every infected piece, dispose of it in the bag, and disinfect the blades of your shears between every cut.
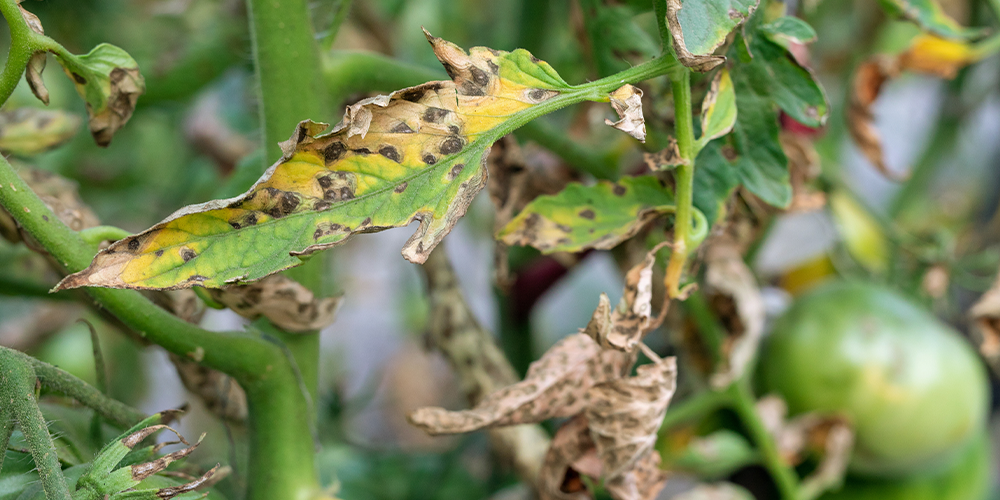
Brown, Spotted Leaves
Another common fungus that affects tomato plants is known as blight. In the early stages of infection, it will show up as brown, spotted leaves, but in later stages, it can result in some nasty looking, moldy fruit. Cut out the infected pieces of the plant as soon as you see them, and keep those blades disinfected. If the blight has progressed and has caused significant damage, you can use a copper-based fungicide. Just make sure to follow the directions closely, so you don’t end up doing more harm than good!
Preventing blight is much easier than treating it, so there are a few things you can do to stop it from happening in the first place. Spacing out your tomatoes so there’s plenty of air circulation will help to eliminate moist, dark areas where fungi can thrive. Watering the soil directly around the base of the stem and avoiding the leaves will also help to make things less hospitable for mold and fungal growth. Applying a layer of mulch can also help to slow the spread of spores while helping to retain soil moisture, plus a long list of other benefits.
Got any questions about troubleshooting pest problems or other garden issues? Feel free to call us up, and our experts can help you pinpoint the problem! Our greenhouse is open to the public, and our webstore is up and running with options for curbside pickup and delivery, so we’re available to help in any way you need.

