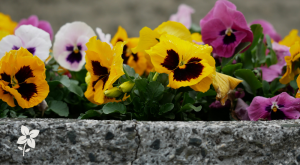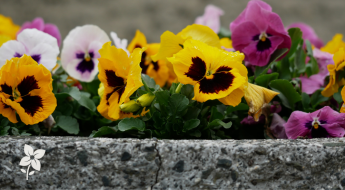
Learning how to store dahlia tubers is essential if you want to enjoy their spectacular blooms year after year. Dahlias are stunning but tender plants; they can’t survive frost in colder climates. Instead of letting the season’s hard work end with the first freeze, gardeners can lift the tubers, clean and cure them, then tuck them away for winter so they’re ready to thrive again come spring.
If you’ve never heard of this process before, don’t worry—we’ll walk you through everything step by step. By the end of this guide, you’ll know exactly how to keep your dahlias safe until spring, confident that you’re protecting both your investment and the beauty in your garden beds.
When to Dig Up Dahlia Tubers
The right timing is the first step to success. Wait until after the first frost has blackened the foliage. This natural dieback signals that the plant has finished storing energy in the tubers for winter survival. Digging too early risks harvesting underdeveloped or stressed tubers, which won’t last in storage.
Quick Tip: Don’t rush—digging too early can stress the tubers.
The visual cue of darkened foliage is your green light to start the lifting process. Acting at this stage ensures the tubers are mature, full of stored energy, and better equipped to survive storage conditions.
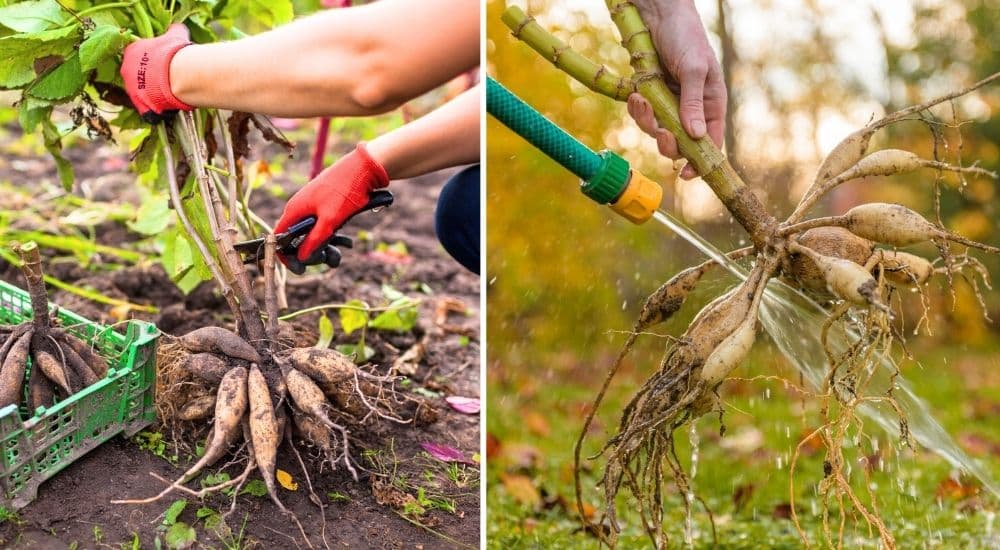
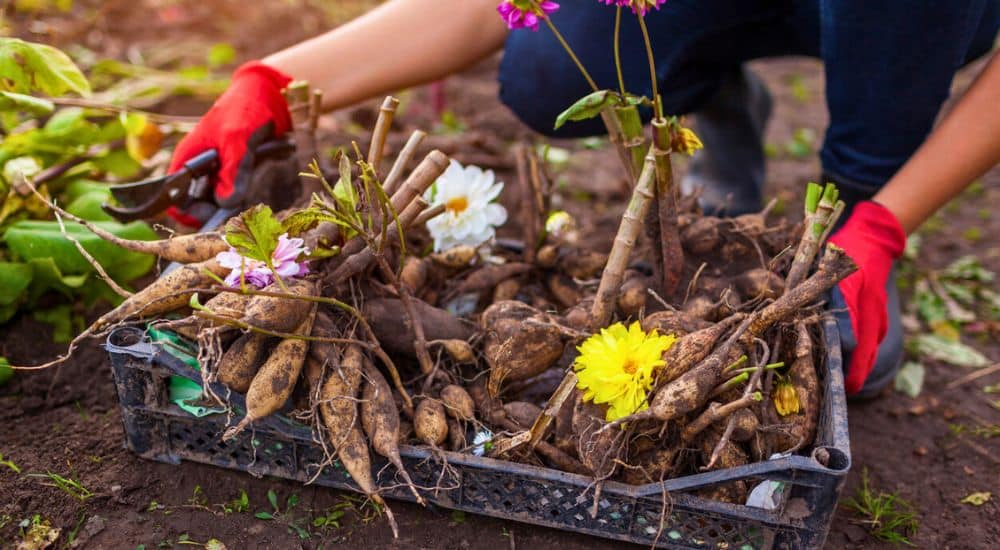
How to Dig Them Up Safely
Think of this stage as gently unearthing buried treasure—you don’t want to bruise your gems!
- Choose your tools wisely. Use a clean, sanitized garden fork or spade. A fork is preferable since it loosens soil without cutting directly into the tubers.
- Loosen the soil. Start a good 8–12 inches away from the base of the plant to avoid spearing tubers. Work your way around in a circle, gently prying upward.
- Lift carefully. Grasp the stem and lift the clump from the soil.
- Shake off excess dirt. Avoid banging the tubers together; instead, gently knock soil away with your hands.
Tip: Leaving a short stem acts as a handle and reduces the risk of accidentally snapping or puncturing tubers while cleaning.
 Cleaning & Preparing Tubers
Once unearthed, the tubers need to be cleaned before curing.
- Rinse gently. Use a hose with light pressure to wash off soil. Avoid harsh sprays that can bruise delicate skin.
- Inspect for damage. Remove any soft, cracked, or diseased tubers—these can spread rot in your storage.
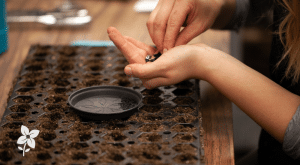
- Optional division. For more advanced gardeners, this is also the stage to divide large clumps. Each viable division must have at least one “eye,” the growth bud where next year’s stem will sprout.
This step ensures only healthy tubers move into storage and helps you manage plant numbers for the following season.
Curing Dahlia Tubers
Curing is simply the process of letting the tubers dry and toughen up before long-term storage. This step prevents rot and prepares them for a stable, dormant rest.
- Location matters. Choose a cool, dark, and well-ventilated space such as a basement, shed, or garage that remains above freezing.
- How to arrange. Spread tubers in a single layer, preferably on cardboard, newspaper, or even a mesh rack for airflow.
- Duration. Allow them to cure for 7–10 days.
Tip: Lay them out like cookies cooling on a rack—give them space to breathe.
During this time, outer skins toughen, reducing the chance of rot once stored.
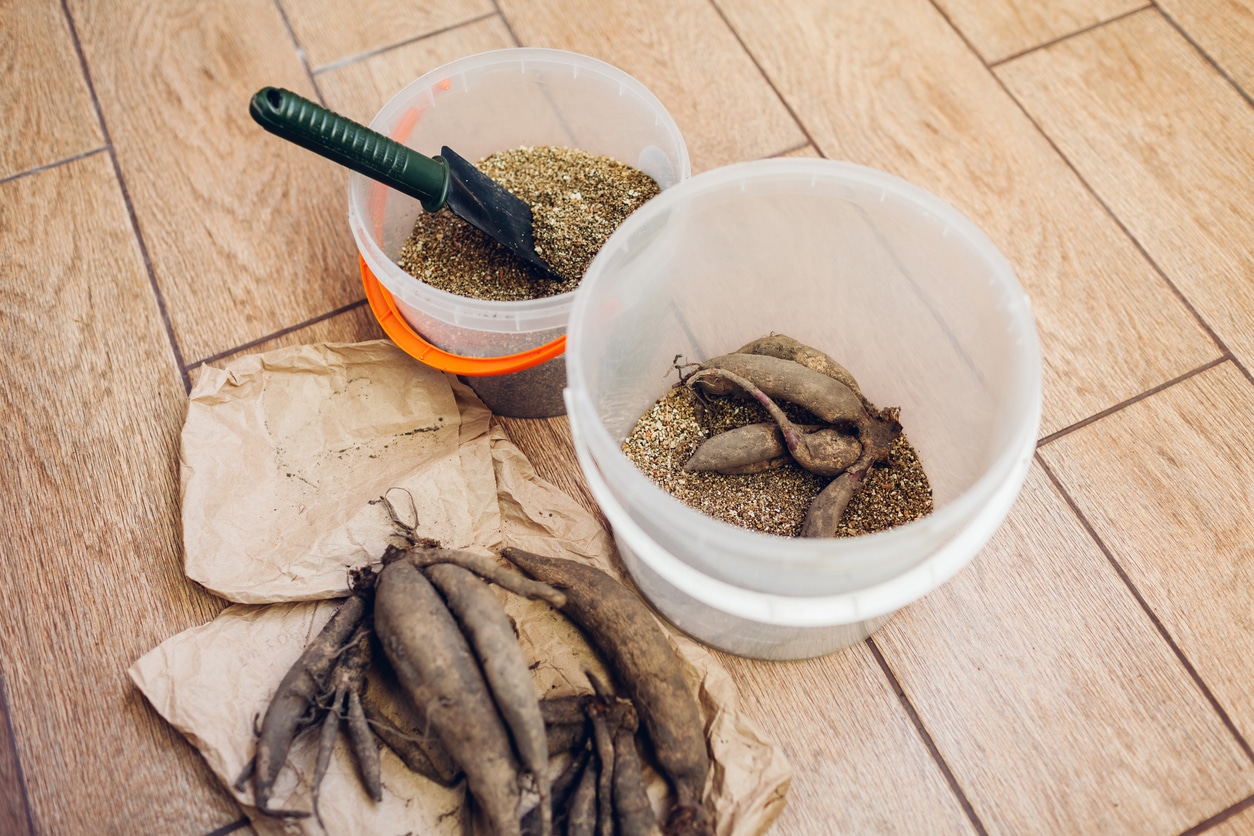
 Best Storage Methods
Once cured, your tubers are ready to be packed away! Storage mediums act as insulation, helping regulate humidity and temperature.
- Peat moss: Lightweight and retains some moisture, preventing shrivelling.
- Vermiculite: Excellent for airflow; ideal for gardeners in damp areas.
- Paper bags or cardboard boxes: Breathable and easy to label, though not as protective against drying out.
Temperature & humidity goals: Aim for a storage space that remains around 4–10°C with moderate humidity.
Tip: Avoid plastic bags—they trap moisture and encourage rot!
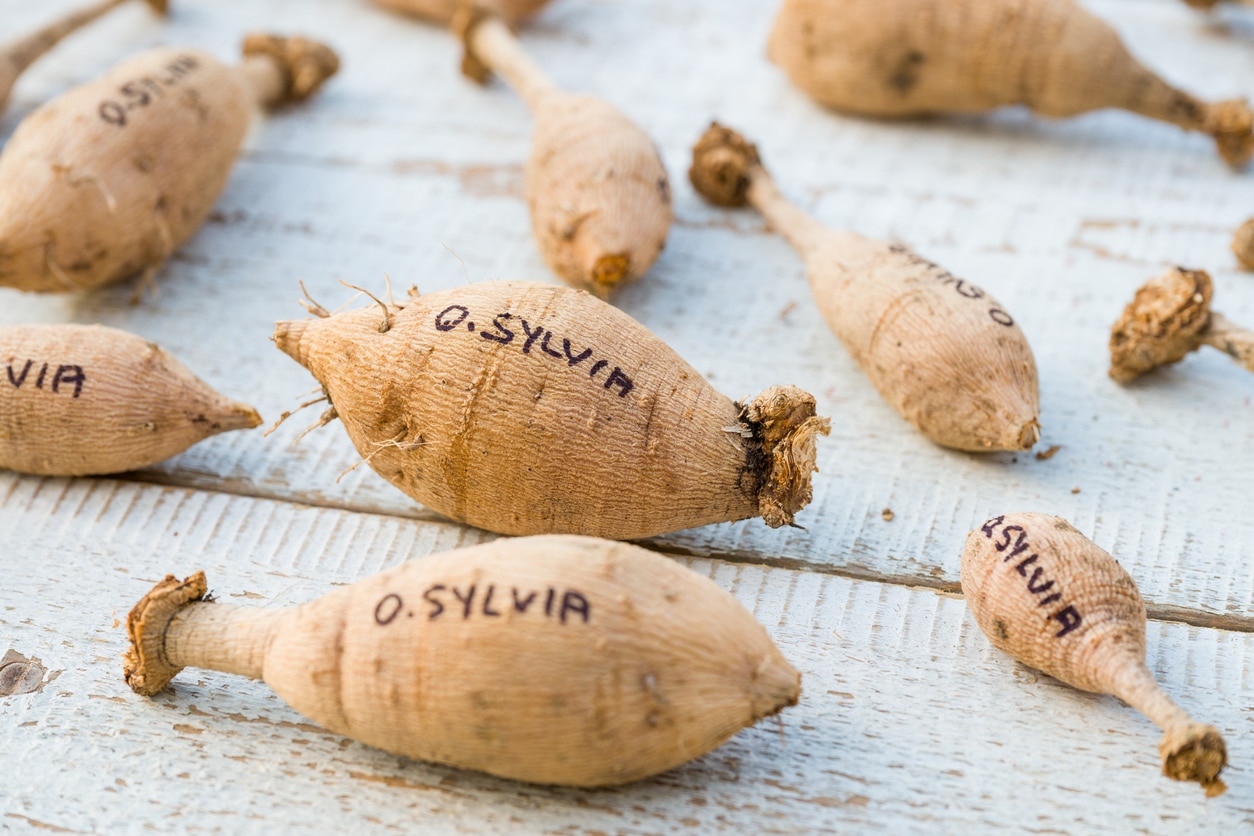
 Labelling for Next Season
Labelling may seem like an afterthought, but it saves a lot of confusion later. Imagine opening your storage in spring and not knowing which tuber is your prized “Café au Lait” versus a standard red.
Methods: Use garden tags, masking tape, or permanent markers directly on the bag or box (or even the tubers themselves!) You’ll thank yourself in the spring when you’re not guessing which tuber is which.
This is especially helpful for those who grow multiple varieties or share tubers with friends.
 Troubleshooting Common Issues
Rot or mould: If you notice mushy or slimy tubers, remove them immediately before the rot spreads. Improve ventilation or use a drier storage medium.
Shrivelling tubers: A common sign of dehydration. Lightly mist the medium or add a slightly dampened layer of peat moss to help restore balance.
Viability check: In spring, squeeze gently. Healthy tubers should feel firm, not hollow or mushy.
Gardeners in colder climates often ask about overwintering dahlias, Edmonton style. The key isn’t leaving them in the frozen ground but perfecting your indoor storage environment. That’s why proper dahlia winter care is so essential—it allows gardeners in frosty regions to keep their collections thriving year after year.
With just a little effort now, you’ll be rewarded. Dig, clean, cure, store, and label—these five steps are the backbone of success with winterizing dahlias. End with the same gorgeous blooms next year, ready to bring colour and joy back into your garden.
If you’ve ever doubted your ability to manage this process, remember that gardeners around the world rely on these methods every season. And once you master them, you’ll never lose a beloved variety to winter again. Whether you’re brand new to dahlias or a seasoned flower enthusiast, learning how to store dahlia tubers is an empowering skill.
With these simple steps, you’ll be ready to store your dahlias like a pro and enjoy stunning blooms next season. For supplies, tips, and expert advice, visit us in-store or online—Salisbury Greenhouse is here to help you keep your garden blooming beautifully, year after year!