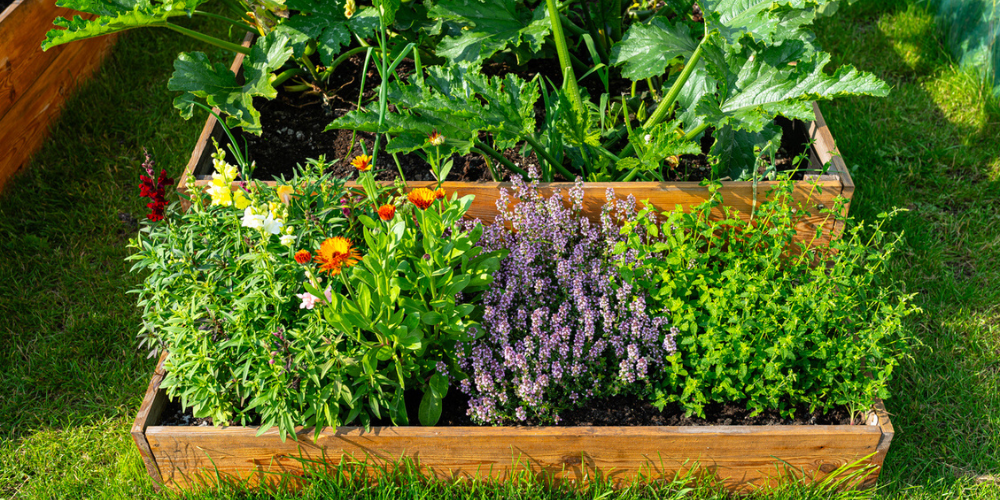
If you’ve ever wished your spring planting could feel less rushed, you’re not alone. Raised garden beds for spring planting doesn’t have to be a scramble to assemble when the weather finally warms. The smartest gardeners know that autumn is the perfect season to get ahead. By building and preparing your raised beds in the fall, you’ll not only enjoy cooler working conditions, but you’ll also give your soil months to break down and mature into the rich, crumbly texture that plants love!
In our guide, we’ll explore why fall is the ideal time to build raised beds, how to choose the right size and materials, step-by-step soil layering, and even some optional upgrades such as cold frames for extending your growing season. By the end, you’ll feel confident and inspired to set up your beds now so that spring planting is easier, healthier, and more productive.
Why Build Raised Beds in The Fall?
Autumn brings the sweet spot of gardening: comfortable temperatures, manageable soil, and the gift of time. Building now means you won’t be sweating it out in a springtime rush alongside everyone else who’s scrambling to get their gardens in order.
- Cooler Weather: Lifting boards, hammering frames, and hauling soil is far more pleasant when you’re not wilting away in the summer heat.
- Soil Maturity: By layering organic matter in the fall, you give it months to naturally break down and enrich the soil, creating an ideal planting environment.
- Spring Head-Start: When April rolls around, your beds are already prepped and ready. Instead of construction, you’ll be sowing seeds!
Without further ado, let’s look at how to set up your raised beds step by step:
 Planning Your Raised Bed: Size & Placement
Raised beds aren’t one-size-fits-all. The best results come from thoughtful planning:
- Dimensions: Most gardeners find a width of 3–4 feet perfect—wide enough for generous planting but narrow enough to reach the middle without stepping in the soil. Depth can range from 6 inches (for shallow-rooted greens) to 18 inches or more (for root crops like carrots).
- Height: Taller beds (24 inches or higher) reduce bending and strain, making them more comfortable for long days of gardening.
- Placement: Sunlight is king. Ideally, raised beds should get 6–8 hours of direct sunlight. Take note of where the sun falls in your yard during fall and spring—it shifts dramatically through the seasons.
- Drainage & Access: Avoid low-lying, soggy areas. Position beds where you can easily walk around them and access them with a hose.
Friendly suggestion: If you’ve never thought about where the sun falls in your yard during autumn and spring, now’s the time to take a look. This observation will pay off when your crops thrive.
Choosing the Right Materials
The beauty of raised beds lies in their flexibility—you can build them to fit your style, budget, and sustainability goals.
- Wood: Cedar and redwood are rot-resistant and naturally beautiful. Pressure-treated lumber is longer-lasting, but must be chosen carefully to avoid chemical leaching.
- Metal: Corrugated steel or galvanized metal beds are modern, durable, and often come as ready-to-assemble kits. They heat up faster in the spring, giving crops a bit of a jumpstart!
- Stone or Brick: Permanent and elegant, though heavier to build and more costly.
- Composite Boards: Eco-friendly blends of wood fibre and recycled plastic that resist rot and weathering.
If the budget is tight, repurposed wood pallets or untreated lumber can serve well. For long-term investment, cedar, or composite options often pay off.
(For local readers searching for ‘Edmonton-style raised beds,’ cedar or metal frames have become a popular and lasting choice for our climate.)
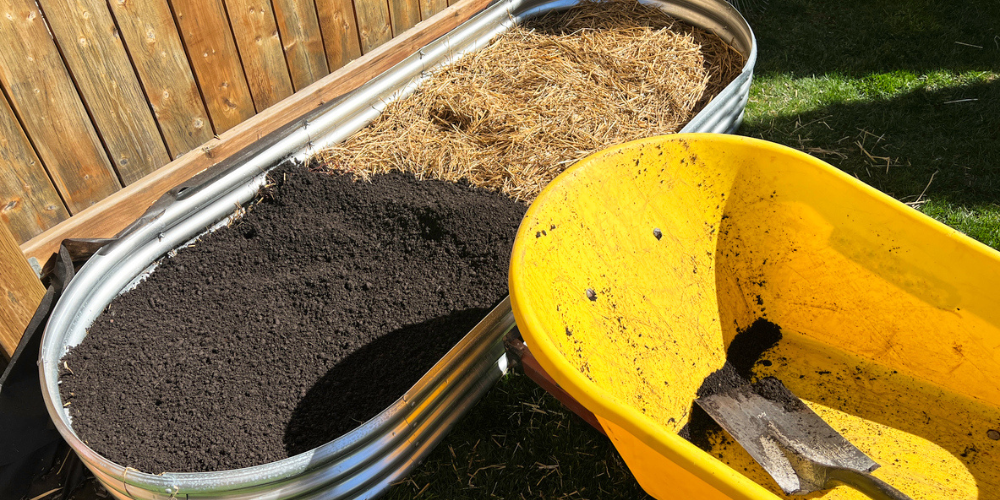 Layering Organic Matter for Winter Decomposition
Think of your raised bed as a giant compost bin that transforms over winter. By layering organic matter now, you’re creating a living system that breaks down into nutrient-rich soil by spring.
- Base Layer: Lay cardboard or thick newspaper at the bottom. This smothers weeds and gradually decomposes.
- Organic Matter: Add a generous layer of leaves, grass clippings, or straw.
- Compost or Manure: A few inches of composted kitchen scraps, manure, or garden compost go on next.
- Topsoil: Finish with a 4–6 inch layer of topsoil to cap everything off.
Over the winter, moisture, microbes, and frost cycles break these materials down, leaving you with dark, fertile soil. Think of it as giving your garden a head start—by spring, you’ll have rich, crumbly soil that is ready for planting.
Optional Add-Ons: Cold Frames & Season Extension
Want to push your gardening season beyond the ordinary? Cold frames are your secret weapon.
A cold frame is essentially a mini greenhouse—a clear lid (glass or plastic) over a wooden box. Placed on your raised bed, it captures sunlight, warms the soil, and protects seedlings from frost. Even in chilly climates, you can start greens like spinach and lettuce weeks earlier.
Other ideas include:
- Hoop Tunnels: Flexible PVC or metal hoops covered with row fabric.
- Cloches or Covers: Smaller, individual covers for tender plants.
Even if you’re new to cold frames, don’t worry—they’re simpler than you think! Many DIY enthusiasts build them from old windows, while others prefer lightweight kits available at local garden centers.
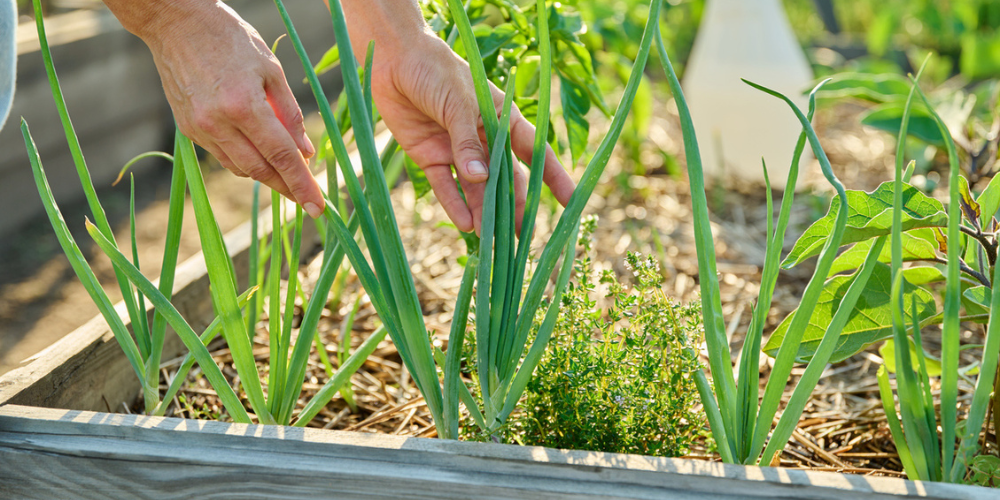 Final Touches & Ongoing Care
Your fall prep doesn’t stop when the frame is built. A few finishing touches ensure your raised beds are truly ready to face winter.
- Mulching: Add a protective layer of straw or shredded leaves to keep soil temperature consistent and reduce erosion.
- Moisture Check: Before freeze-up, make sure the soil has some moisture—dry beds can suffer more damage from frost.
- Quick Maintenance: Rake away debris, secure any loose boards, and cover with row cloth if you want extra protection.
Fall preparation may seem like extra effort now, but it pays back tenfold in the spring.
By preparing your raised beds in the fall, you’re working with nature’s timeline, not against it. Cooler weather makes the process more enjoyable, organic layers decompose into nutrient-rich soil, and optional add-ons like cold frames help you extend your season. By the time spring arrives, you’ll be ready to plant while others are just getting started.
Ready to take the leap? Visit Salisbury Greenhouse for supplies, expert advice, and plenty of inspiration to design raised garden beds that suit your space and style. Whether you’re experimenting with vegetable garden beds or investing in raised garden beds, Edmonton style, our team is here to help. Build smarter now, and you’ll harvest the rewards all next season!