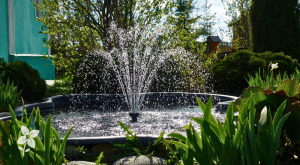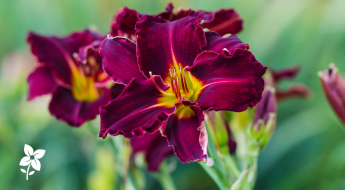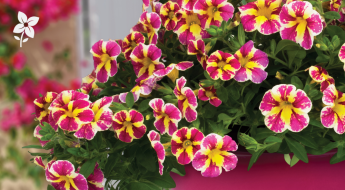
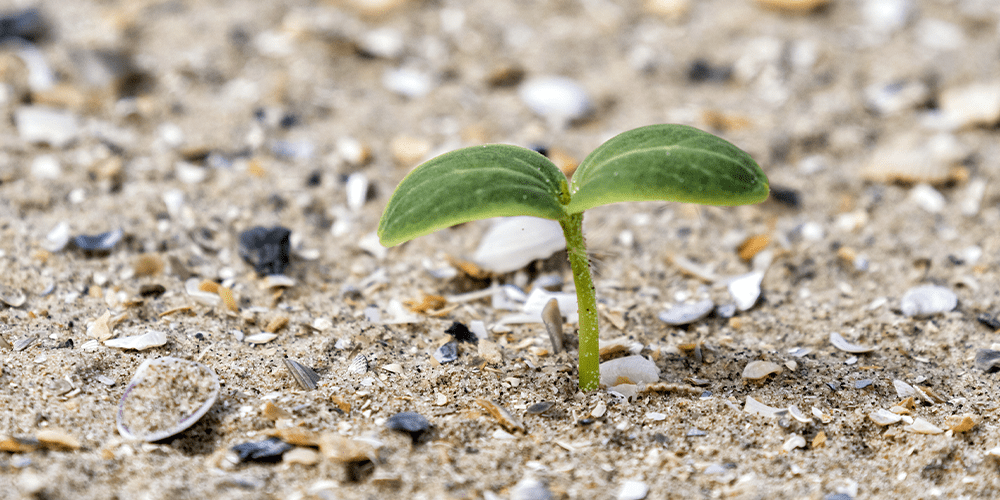
Perennials are amazing plants, and growing them from seed is so rewarding. Starting perennials from seed is sometimes considered difficult, but it’s the ultimate process of delayed gratification””one of the true joys of gardening!
Perennial seedlings might take a few years to develop and really fill in, but once they do, they really have a presence in a garden. Perennials are plants that you can develop a relationship with over time as you watch them mature and nurture their growth.
Growing perennials from seed is a challenge that’s perfect for experienced gardeners. It takes a little more detailed care and a lot of patience, and it’s worth the effort.
Here’s what you need to know about starting your favourite perennials from seed to fill out your own garden or beautify the landscape of a loved one.
Seed Dormancy
Dried seeds are sitting dormant, waiting for the right conditions that will help them open up and begin their growth cycle. For some seeds, this simply means sitting in the soil and waiting for the warmth of spring and moisture. But for some perennial seeds, you’ll need to manually break their dormancy to get them started.
Breaking Dormancy or Cold Stratification
Luckily, in Alberta, we have cold enough winters to give many perennial seeds the dormancy period they need to start growing. So, many perennials can be planted outside in the fall and allowed to develop on their own.
The only thing is that winter in Alberta takes a long time, and there’s a limit to every gardener’s patience. You don’t have to rely on winter to break seed dormancy. With stratification techniques, you can give the plant precisely the dormancy period it needs and start growing earlier.
For some seeds, they’ll need scarification to break their dormancy period. You can scarify perennial seeds in a few different ways. You can use a sharp knife, a nail file, or scissors to make a nick in the seed coat. Don’t remove the seed coat or penetrate it too deeply; it can damage the seed and lead to a failure to germinate.
For many perennials, you can make a seed “maraca” to scarify the seeds. Cut a piece of sandpaper to fit in a loop inside a jar. Add your seeds, and shake, shake, shake for a few minutes. This will help to create weaknesses in the seed coat that will allow water and oxygen to penetrate and wake the seed up. This can be a fun little task for young helpers!
Some seeds, like peonies and lilies, need up to two years to sprout. They need cycles of cold and wet, then warm and wet, and then cold and wet again before they’ll fully wake up. You can replicate these conditions with strategic stratification.
What is Stratification?
Stratification, or dormancy breaking, is the process of coaxing the seeds out of dormancy when you want them to grow instead of waiting for the natural conditions to be right. The most common method of stratification for temperate seeds requires soaking the seeds for 24 hours, then chill them in a refrigerator for several weeks.
Germinating Perennial Seeds
You can start perennial seeds generally the same way that you would start annual seeds. But, there is another way that generally has a better germination rate than just starting them in seed starting mix. For some reason, starting perennials in non-coloured aquarium sand usually delivers a better germination rate than other mediums.
You can use the sand as part of your stratification process, which means you’ll have to disturb the seedlings less frequently during growing. It’s important to sterilize your sand before using it for planting.
Sterilizing sand is basically like cooking a turkey in a baking bag:
- Get a turkey bag
- Add the sand and set your bag in a baking dish
- Add a few cups of water
- Tie the bag shut
- Poke a few ventilation holes
- Bake your sand the same way you would a turkey, but not quite as long
The sand should sustain a high temperature for at least 30 minutes to kill off any pathogens or bacteria.
Once your sand has been sterilized, you’ll need to let it cool. Once it’s cool, you’ll want to get your soaked seeds into the damp sand in smaller baggies as soon as possible to prevent contamination of the sterilized sand. Make sure you work on clean surfaces, use sterilized utensils, and wash your hands well.
Label smaller plastic ziploc bags with the name of the seeds and the date. Then add a scoop of sand to the bag. Massage your seeds into the sand so that they’re well coated, seal up the bag, and place them in the refrigerator for 5-6 weeks. After 5-6 weeks, start checking your seeds daily.
Be patient; don’t take the bags out of the fridge until the seeds have all sprouted. Many perennial seeds have a delayed sprouting behaviour, in which nothing will sprout for a long time, and then they’ll all germinate right at the same time a while after the first one starts.
This is a natural phenomenon, and it happens based on chemical reactions; they can sense when their perennial seed buddies are starting to germinate. Other plants will wait until days reach a certain length, and then they’ll all start to sprout at once.
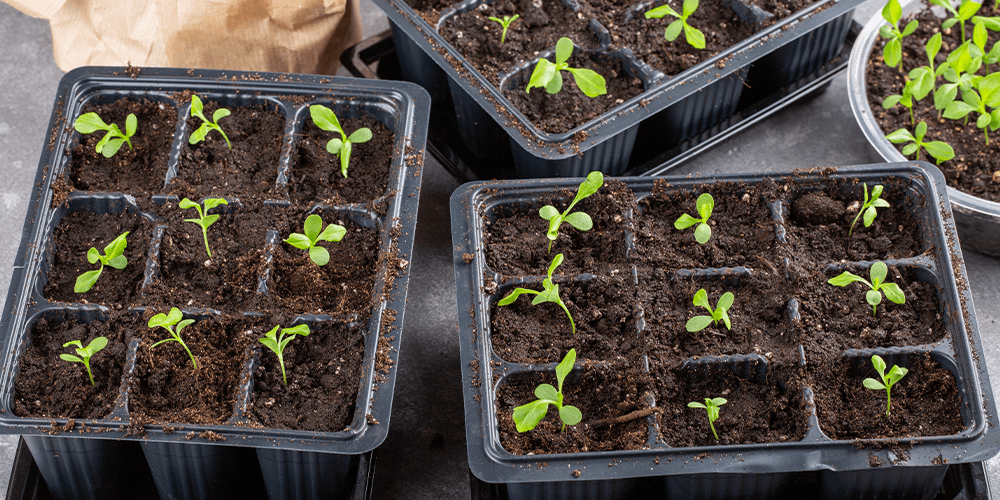
Planting Perennial Seedlings Indoors
Once your perennial seeds have all sprouted, you can remove the baggie gently from the fridge, then carefully cut it open so that you don’t damage the tiny seedlings.
Have your communal seed trays ready with seedling growing mix tamped down to about half to ¾ an inch below the edge of the container. Then, using something like a narrow pancake turning spatula, gently lift the seedlings with a ½ inch layer of sand, and set them down on top of the soil in the communal seed trays. You want the trays full enough that your seedlings won’t be shaded by the edges of the container when you set them in.
Next, set your seeding cells into trays and bottom water everything to make sure they’re well-hydrated, but you don’t wash away or damage the seedlings. Keep your seedlings in a cool area, about 18 °C, and use a small fan to keep the air moving so that it doesn’t get too hot for them.
Implementing the use of grow lights, relatively close to the seedlings will ensure they don’t stretch too much. Move your lights up as your seedlings grow.

Starting Perennial Seeds Outside
In Alberta, we’re lucky we can let winter manage the dormancy and cold stratification process for us if we like. You can start many perennials from seed in outdoor beds; you’ll just need to make sure they’re protected.
Prepare a seed starting bed, like a cold frame, outdoors. While winter will handle the dormancy process, there are a few things you want to make sure you do to protect your seeds. Cold frames are essential for starting trees from seeds.
Outside you’ll have the challenges of hungry squirrels, birds, and mice to contend with, as well as wind drying things out. If you have a cold frame, you’ll need to make sure you keep the soil in your seeding beds damp but not wet, all winter. If you have an open seedbed, you can create a cover to protect your seeds with a window screen.
If you’re doing the open bed with a screen covering, make sure the bed stays covered with a layer of snow all winter long to prevent them from drying out. Having a screened cover or lid with some height will give the seedlings room to start growing in the spring and keep them protected.
Beyond managing protection and moisture, you can trust nature to do the rest of the job.
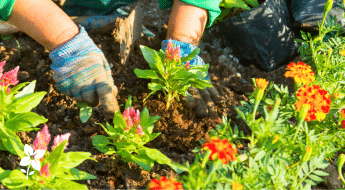
Planting Out Perennials Grown From Seed
Whether you started them from seed or not, the key to planting perennials is making sure they get planted in the right location for their needs. Even with the best start, perennials won’t survive long without the right kinds of soil and sunlight.
To give your perennials the best chance of success, give them good soil with plenty of organic matter. Amend the soil every year with either compost, leaf mould, or well-rotted manure (it should have no smell). You can also add slow-release amendments when planting, like bone meal, to help nourish your young perennials.
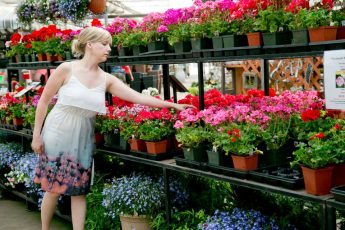
Get Your Perennials Started from Seed
For more advice on starting perennials, or if you’re ready to select your seeds and equipment, visit us today at Salisbury Greenhouse!